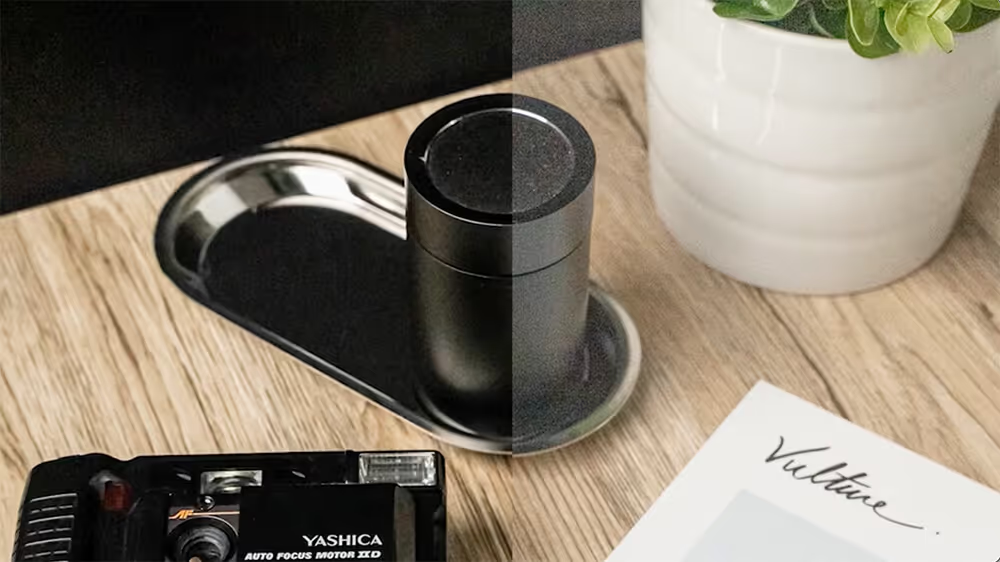
Shooting in low light can often result in unwanted 'noise' in your image. This is the term given to a grainy or discoloured visual distortion effect that can ruin your digital photograph. There are several factors that contribute to this problem such as shooting with high ISO settings or long exposures and in some circumstances it may be unavoidable.
If you have taken a photograph and then noticed noise afterwards there are some things you can try in Lightroom to reduce it. Check out our video demonstrations to find out how.
Let's get started
In Lightroom, under the Detail panel in the Develop module you will find adjustment sliders for Sharpening and Noise Reduction.
%20(1).jpg)
Identifying noise
There are 2 types of noise in photos; color noise and luminance noise. Color noise are multicolored pixels and luminance noise are usually monochrome pixels that look like grain.
Removing noise
Zoom in 1:1 to have a clearer view. Adjust the adjustment slider based on the type of noise. This image for example, has both color and luminance noise.
Recovering details
You'll notice that in doing this, a lot of details were lost. To recover those details, increase sharpness with the Sharpness adjustment slider. You can even enhance the details further by increasing Clarity and Texture.
Now you can salvage your noisy images
Every problem has a solution! Save your noisy images from the cutting room floor and give them a chance to shine with this simple editing technique.
Ready to produce customised photos & video for your brand?
Want to get paid to create visual content?
Get access to paid work opportunities with global brands. Register your interest by sharing some examples of your work.
Sign up to receive the latest digital brand strategies and case studies

Download our free guide: 20 brand campaigns using visual context to engage consumers

Sign up to receive the latest content creation tips and tutorials


