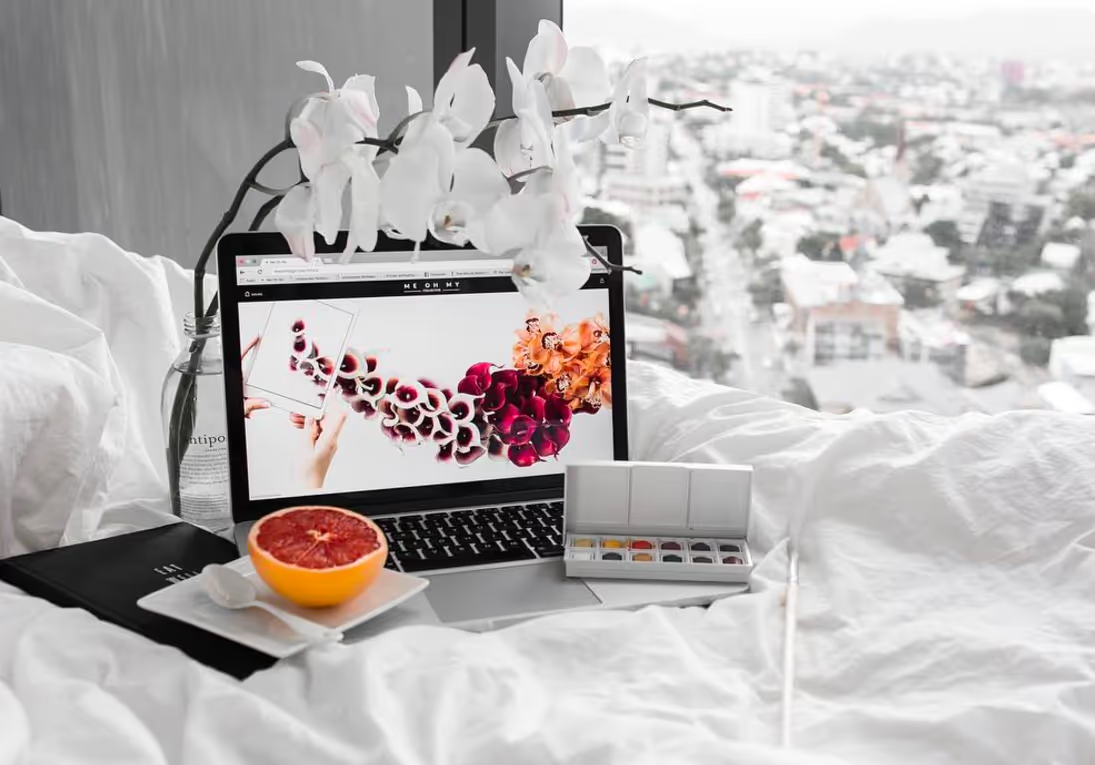
Have you ever wondered what exactly it is that makes certain photos grab your attention and stop you mid-scroll? I have noticed a particular photo editing trend gaining momentum with a lot of popular accounts on Instagram and it's a super simple effect that has a whole lot of impact. Once I have drawn your attention to this technique you are going to notice it absolutely everywhere. Luckily for you I'm not just going to tell you about it, I'm going to show you how you can get the same effect right from your mobile!
Let's get started
Take a look at these images below from three different well known Instagram accounts and, aside from the similar composition and subject matter, see if you can tell what they have in common:
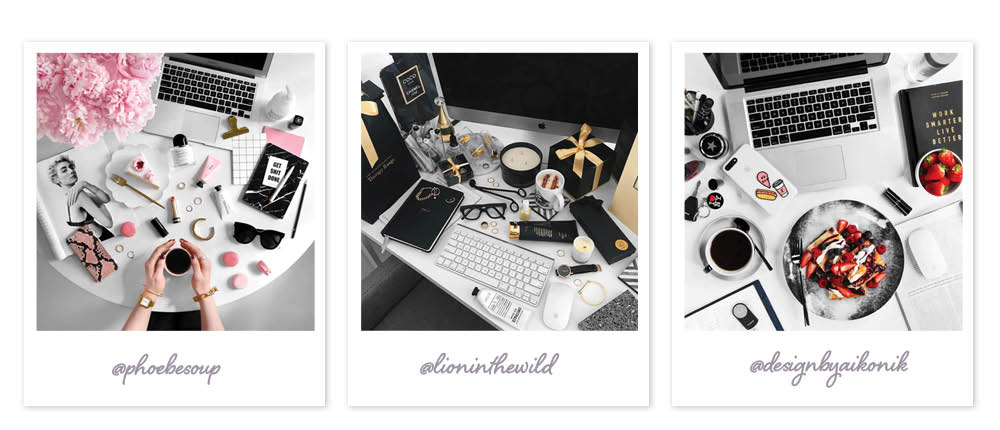
The colours look great right? ? Yes, they have carefully curated and highlighted key colours within the image but there is one more thing they have in common.
They completely desaturate the background.
This means they remove all the colour from the underlying elements and layers of the image to make the background completely (or almost) black and white.
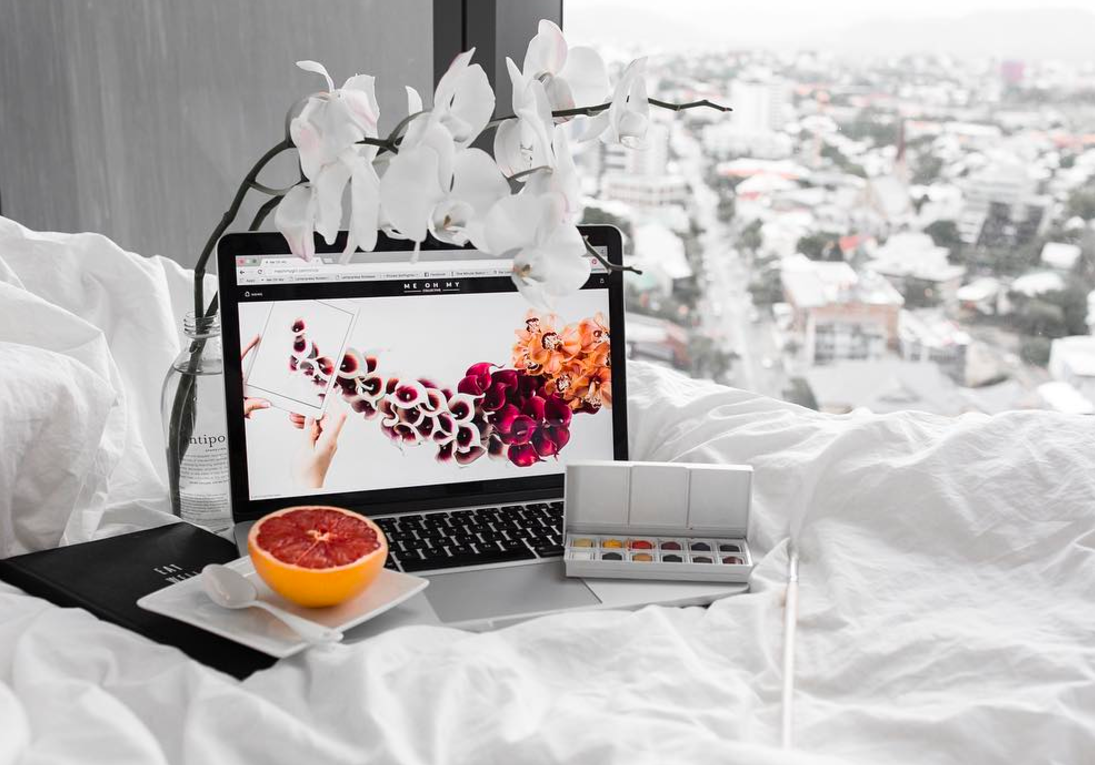
This technique does does two things:
- Helps achieve a crisp tonal background and clean whites
- Increases the contrast between the background and coloured focal points of the image.
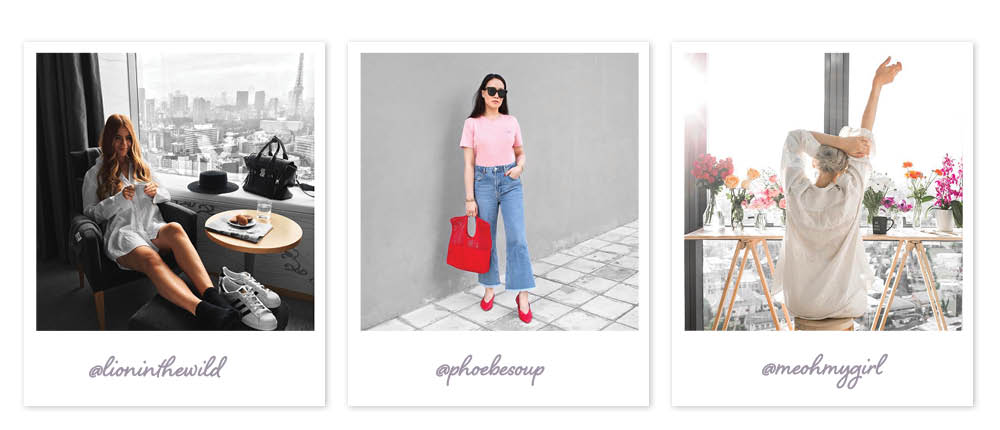
It doesn't just work for flatlays and still life photography either. Take a look at how this technique has been used to remove the colour in the background of these photos using people as the subject.
See how well the skin tone stands out against the black and white?
It all seems really obvious now doesn't it? The only catch is, that to achieve this level of colour-popping detail in your edits takes a certain amount of Photoshop expertise using masks and layers.
Obviously not everyone has access to Photoshop, or wants to spend an hour editing a photo, so let's skip straight to how you can achieve this look right from your mobile phone. Be warned - achieving this effect can be a little fiddly and if you aren't familiar with using Snapseed you may need to experiment with how to use the tools correctly.
[#cta]
How to replicate the desaturated background effect on your mobile phone in two simple steps:
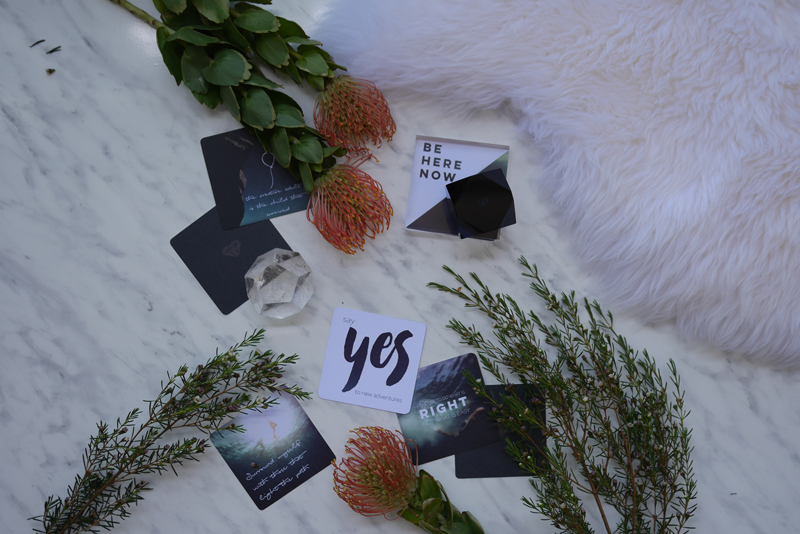
Start with your image
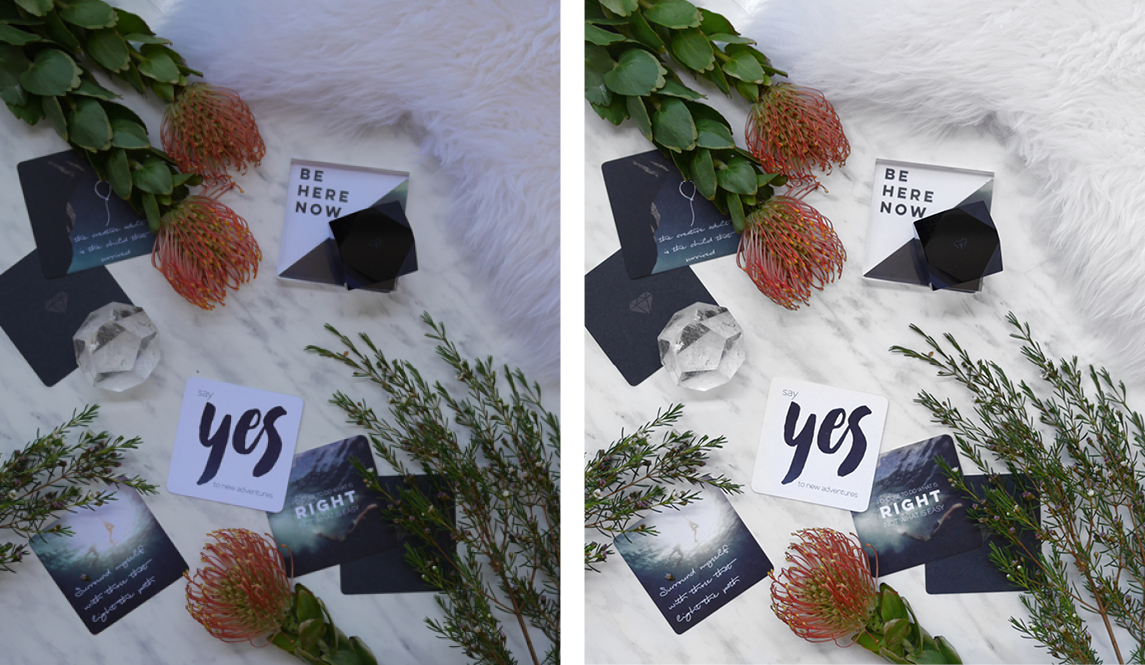
Before you start, open up the image into Snapseed and give the image a quick overall edit to brighten it up. This image is straight from my camera, as you can see there are about three different coloured 'whites' present so it is a good candidate to remove the background colour to even up those tones.
I'll be walking you through using just two of the editing tools in Snapseed - Selective and Brush so if you are new to this app you may want to have an explore and experiment with how to use the finger gestures to apply the effects.
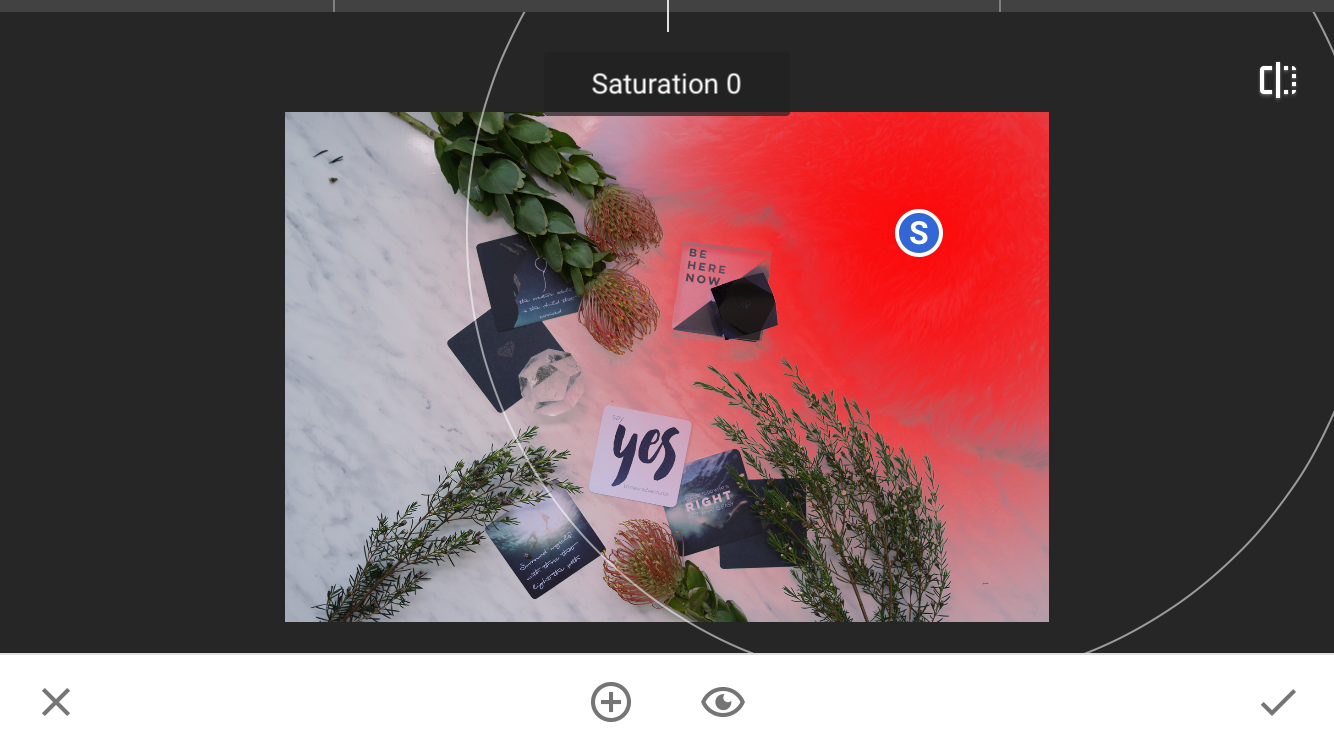
Step 1: Selective Edit
- Use the selection tool to highlight the main background areas of your photo. Don’t worry about it being super precise because you will get the opportunity to refine this selection with step 2.
- Slide the effect option down to 'S' for Saturation then drag your finger down the image to reduce the amount of colour in your selection. You can take this all the way down to the bottom to completely remove all the colour or leave some of the colour tones present.
- Repeat for all areas of the image that have background areas
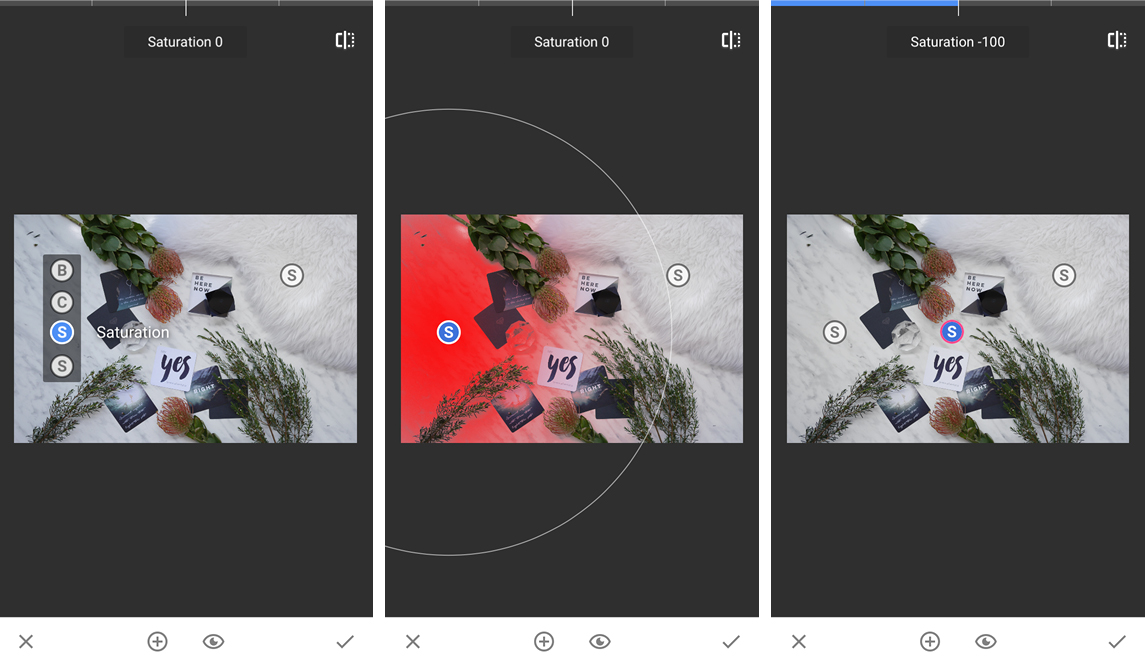
Step 2: Brush Edit
This is where it gets a bit fiddly but you will have greater control over which areas of your image you edit.
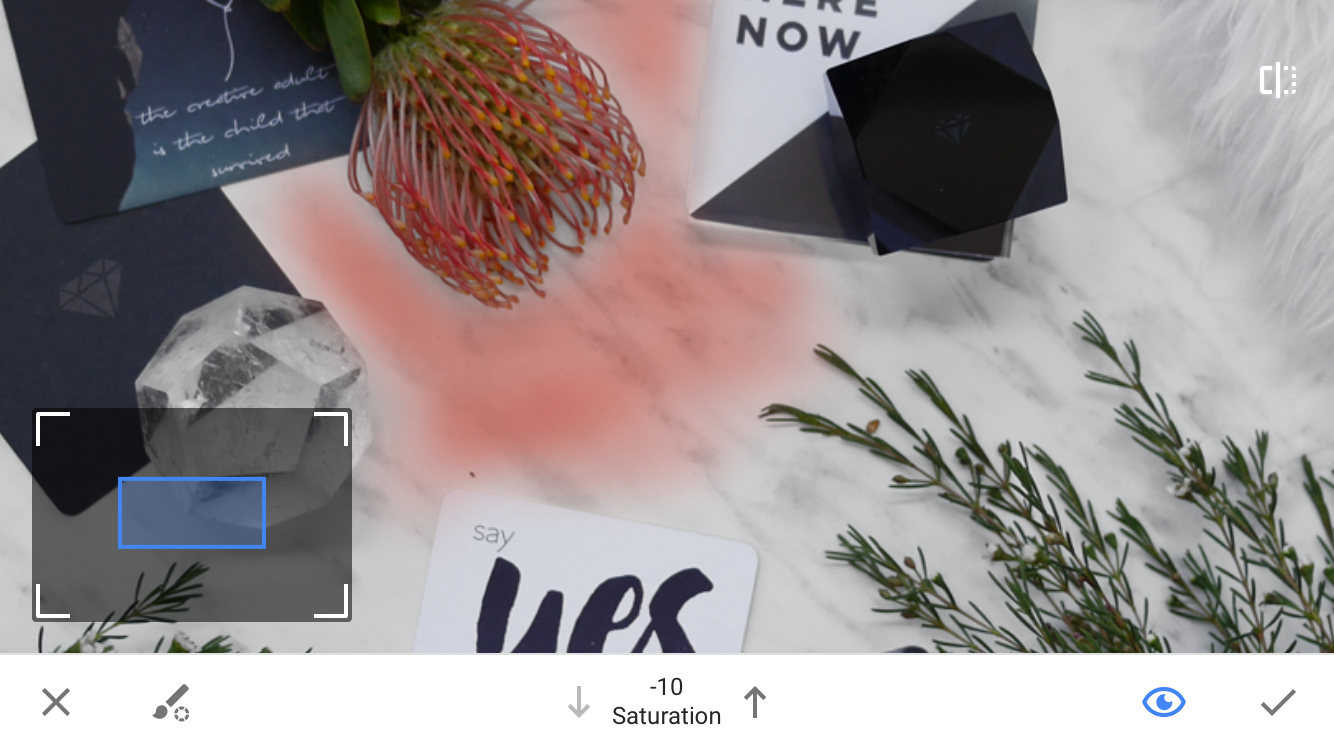
- First hit the Saturation brush icon and hit the down arrow to drop the level down to -10
- Zoom right in on your image and use your fingertip to paint around any areas that weren’t picked up by the selective edit.
- Now you can pump the saturation to +5 or +10 and use the same technique to highlight the focal areas of your image for extra impact.
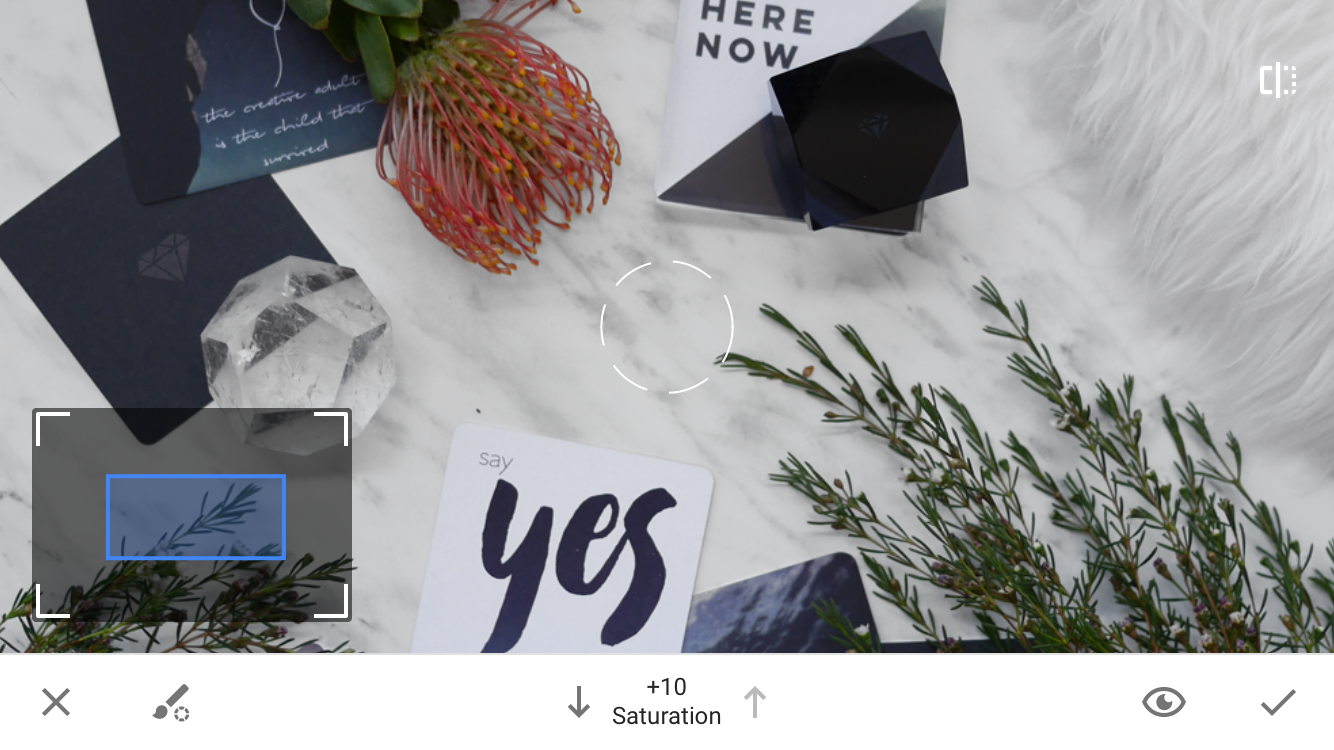
The finishing touches
Well that was quite easy wasn't it? Once you have the desired effect you can finesse your edit or apply the filter of your choice. What do you think about this effect? Do you like it and will you be using this technique on your photos in the future?
Before and after - how much better do those white tones look now?
Ready to produce customised photos & video for your brand?
Want to get paid to create visual content?
Get access to paid work opportunities with global brands. Register your interest by sharing some examples of your work.
Sign up to receive the latest digital brand strategies and case studies

Download our free guide: 20 brand campaigns using visual context to engage consumers

Sign up to receive the latest content creation tips and tutorials


